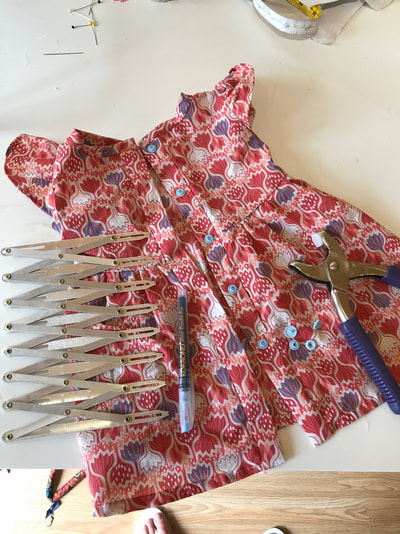
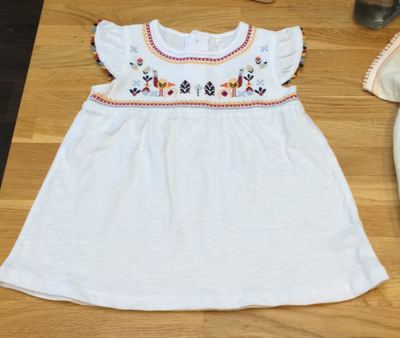
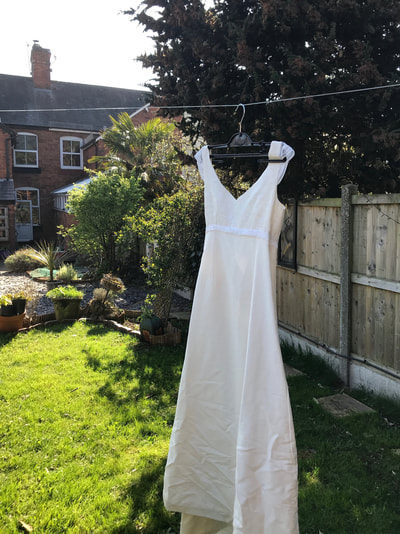
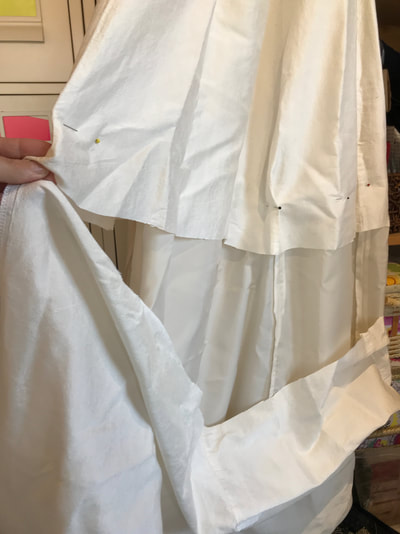
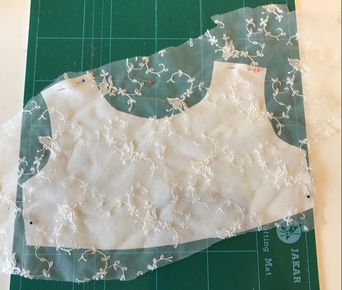
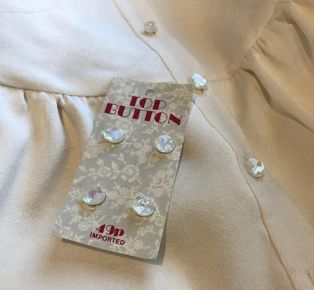
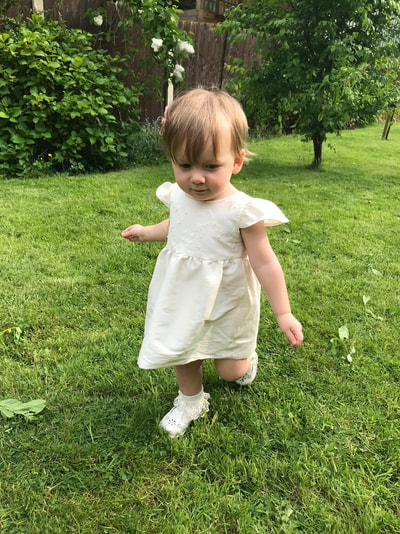
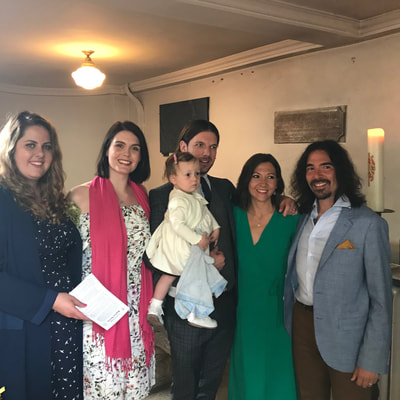
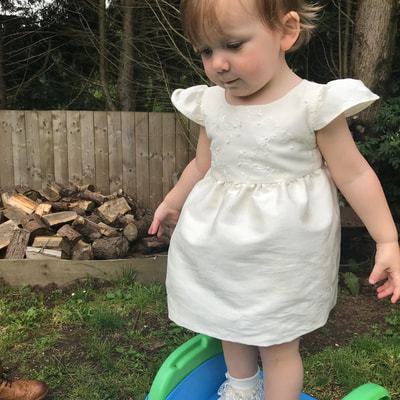
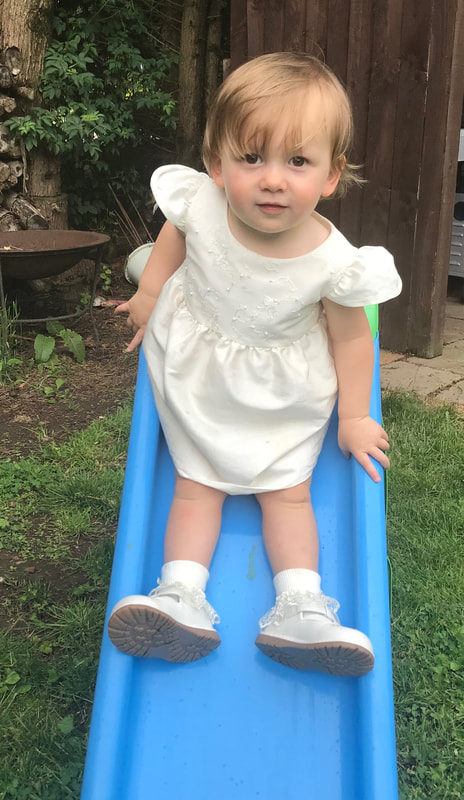
Emmy-Lou's Christening dress - Stitching Memories. 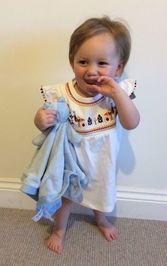 As I mentioned in Part 1 of Wedding dress refashion blog post, the past couple of months have been quiet an emotional sew! Starting with the 'Gathering Memories' project to raise money for the Alzheimer's Society which you can read more about here. But this post is about the challenge set by my sister in law, Gemma Beryln - to make my niece, Emmy-lou, her christening dress. Which at first I was totally fine with; however the challenge was to make it out of her wedding dress. Now this wedding dress is very special as this was a Hand-Made wedding dress which her mother in law, Ineke Berlyn had made for her. If you have had chance to read part one, you will know that Ineke was the person who set me on my sewing journey by showing me how to make my own wedding dress. She is a huge inspiration to myself as well as Gemma who has also been inspired by Ineke's printing and textile art. What made this project hard is that sadly, Ineke is no longer with us. She lost her fight to cancer in 2017 and has left quite a hole in our family. Try as we do to make sure she is still with us in what ways we can. So for me, to essentially cut up what Ineke had beautifully made for Gemma, was the most terrify thing. More terrifying than appearing on the Great British Sewing Bee Studio on the first day! Before cutting into the precious dress, making a toile was essential! I didn't use a pattern as Gemma wanted the gown to be a copy of a dress she already had that fitted her perfectly. I was so pleased with the toile! It's so cute and I didn't realise until after that the fabric has flowers resembling tulips on it, Ineke's favourite flower! I felt like it was a sign that she was approving. Which really helped as the next step was to cut up the wedding dress! luckily I was able to keep the upper part of the dress in tacked, so that Gemma still had a 'dress' left to cherish. I placed my pattern pieces onto the off cut, trying to avoid areas that had become marked from the evenings dancing and luckily there was just enough left over lace to cover the front bodice. PHEW! I also used the lining from the wedding dress to create clean finishing around the neckline and arm holes, where as on the toile, I bound them with bias binding. I also bagged out the skirt, so that it created a little volume in the dress. It didn't take long to sew up as it was such a small garment. I'm so used to adult sizes it seemed to sew up in no time at all, but it was a little tricky at times because of the arm holes being so small! They wouldn't fit around the arm of the machine. Again, I'm so glad I made a toile first as I was able to practise before hand. I took my time over the hand finishing details. I stitched sea beads left over from my wedding dress onto the lace and also hand finished the button plackets on the back of the dress. I didn't want to spoil the finish by top stitching them closed with the sewing machine. To finish off the dress, I added some vintage mother of pearl buttons that I'd been keeping in my stash. When I sent the finished dress pictures to Gemma, we both became emotional and was crying as we texted each other back and forth. I just hoped that Emmy-lou didn't have a massive growth spurt between now and the big day and that I had done Ineke proud. I felt that with Ineke no longer with us, I was somehow responsible for passing on this tradition of making special clothes for our children/ family members. Ineke had made both Gemma's and Liske's (Ineke's daughter) wedding dresses, and I know if she was here then she would have made Emmy-lou's christening dress. So I'm very honoured to do this for my beautiful niece, Gemma and Ineke. I like to think that Ineke and I made the dress together somehow; through two stitched garment, our hands have become one and we made it together just in time for the special day. Everything was perfect on the day! Gorgeous sunshine and fabulous home cooked curry at Little heath Barn Studio - Piet's family home as well as Ineke and Liske's studio where they hold printing workshop surrounded by her beautiful textile art. There was tears, laughter, wine, music and great company.
One thing though -trying to photograph a toddler is impossible, especially when all they want to do is play on the slide!! lol Have you made a special garment for yourself or a family member? Have you refashioned your wedding dress to make a christening gown? I'd love to see your creations so please send me pictures via my Facebook page Tailor - Taylor or don't forget to use the hashtag #sewingrevolution ! Also Emmy-lou's Christening dress has been featured in my editorial for June's addition of Craft Business . Where I was posed a question - The royals - A class of their own or fashion trendsetters? With Royal weddings and new royal baby arrivals in the press, are we being influenced by the royal's wardrobe - I wonder what your thought are?
36 Comments
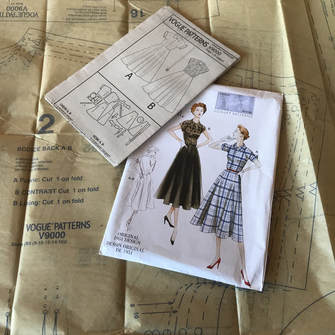
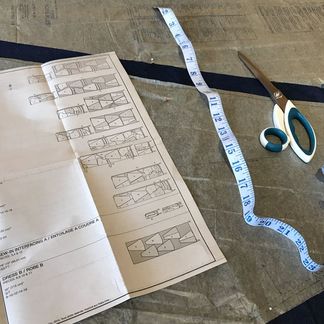
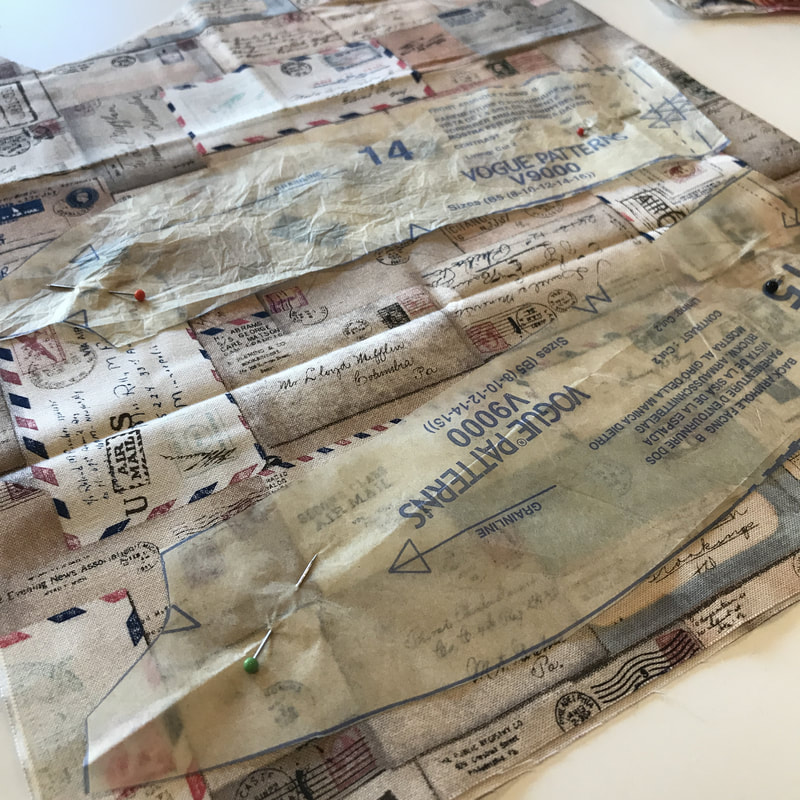
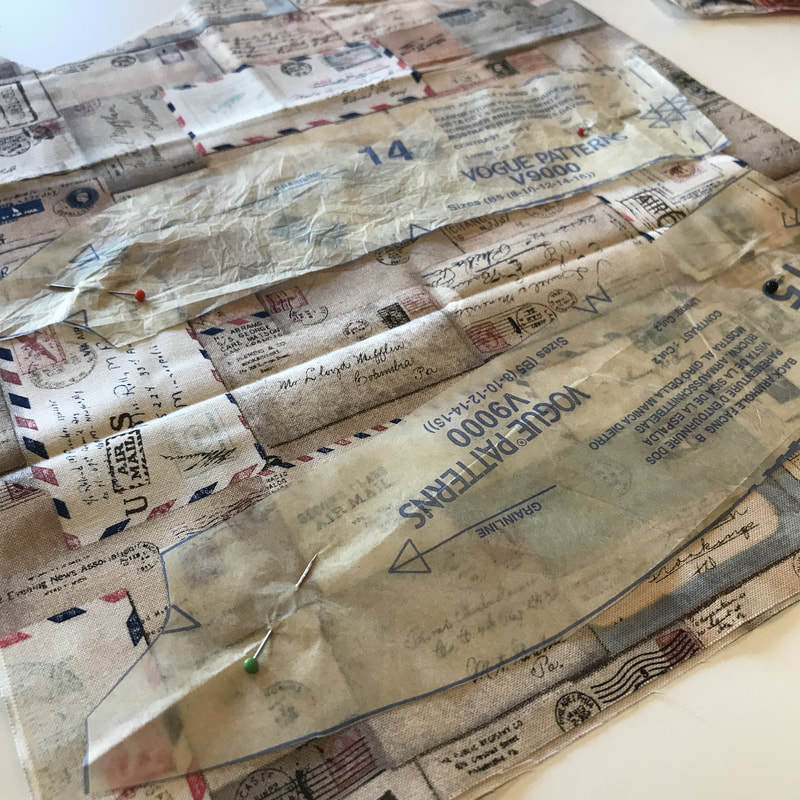
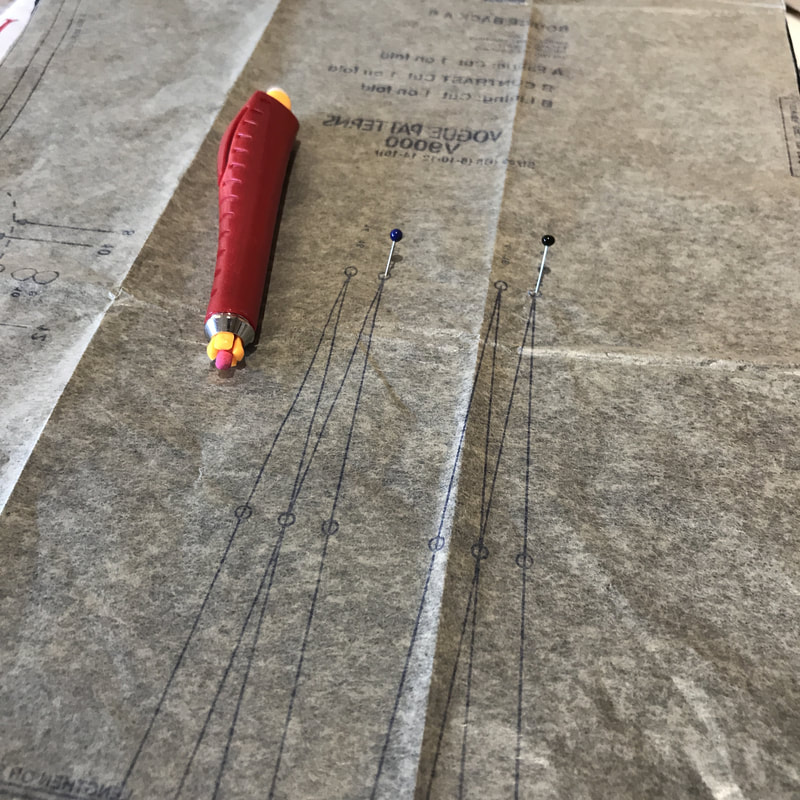
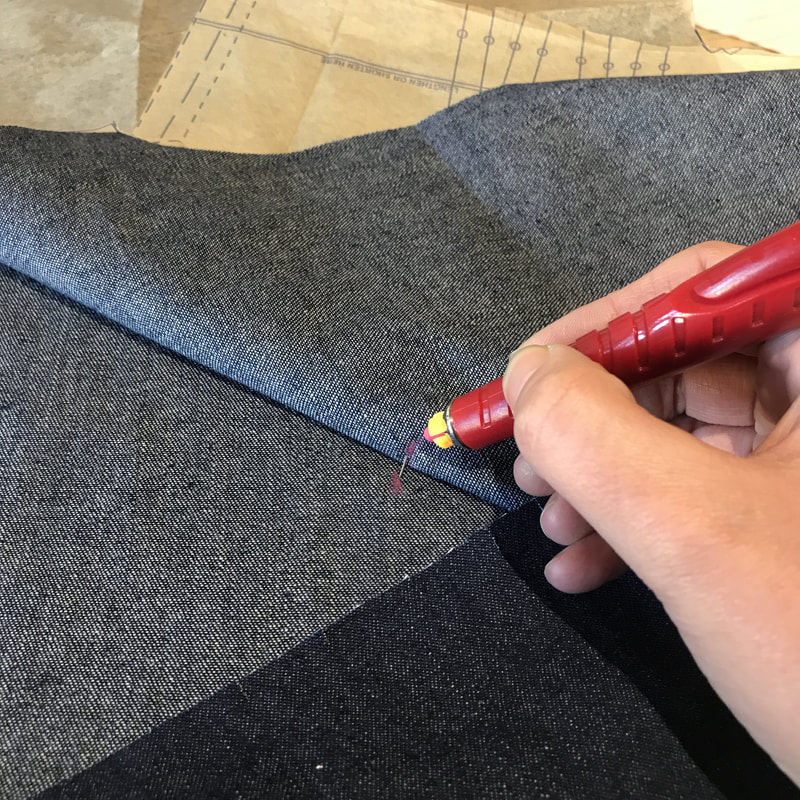
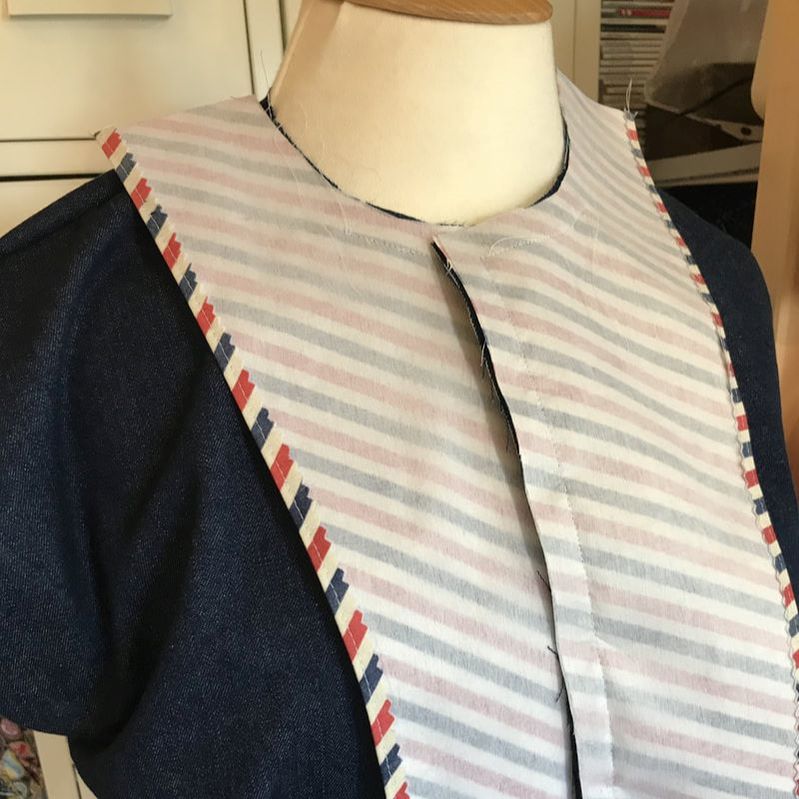
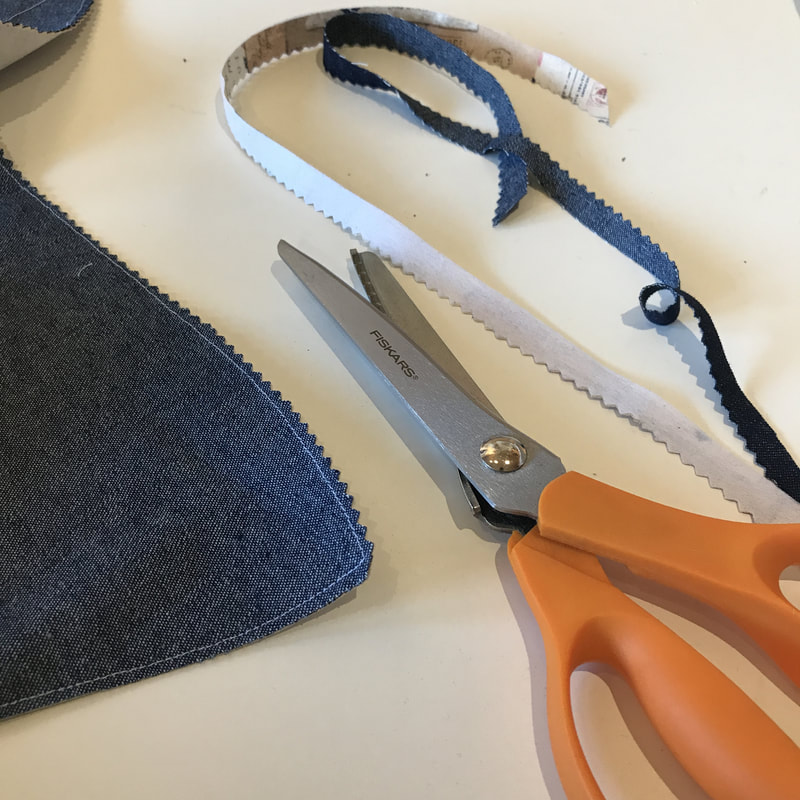
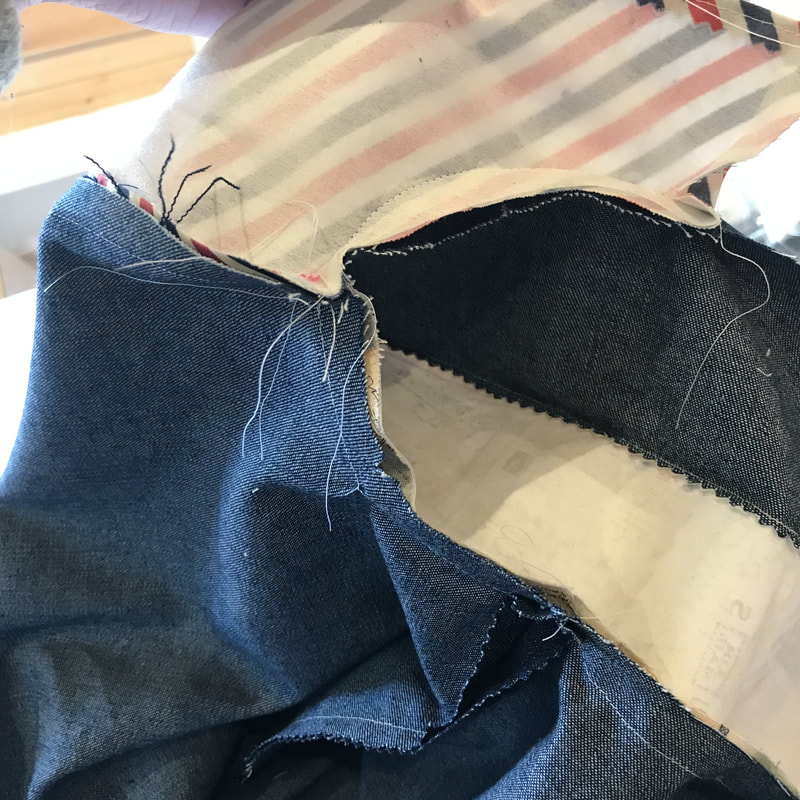
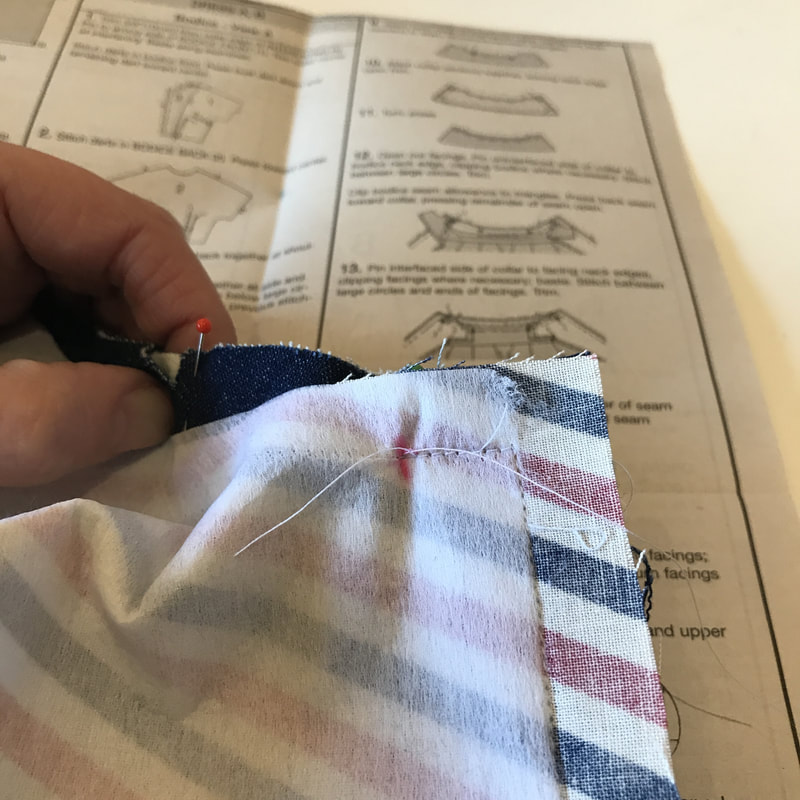
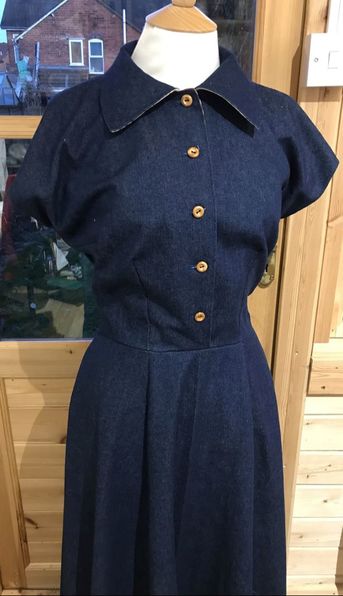
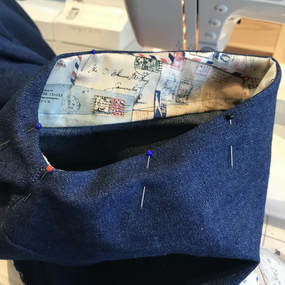
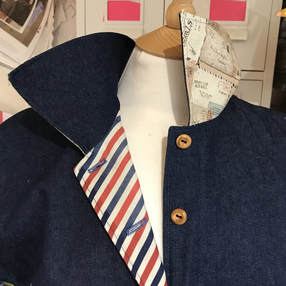
Pattern review Vogue V9000 Sewing for a living means that I don't get much time to sew for myself. Not that I'm ungrateful as I get to do what I love and are passionate about everyday, but it can be a little frustrating. So I've decided to turn that frustration into a positive and bring you, On My Cutting Table. With working on the Sewing Quarter, I get to make so many fabulous garments, to be shown and demonstrated on live on air. Unfortunately, I have to make them into the size that fits the dress form in the studio. And I can tell you now, that I'm considerably a lot larger than 'Mandy the mannequin' as I like to call her. So I don't get to wear my makes and so don't get chance to appreciate what I've just spent several hours making; I'm straight onto the next project for the next show. So, to savour the dressmaking flavour, I thought I'd give you all an insight into my sheshed studio and specifically my cutting table. Giving you a back stage look into the construction and details of the patterns that I'm using. As well as hints and tips that I might not get chance to cover in the live shows as time goes so fast and often runs away with us. So even though I might not get to wear my Sewing Quarter makes, I want you to have everything you need to enjoy your makes at home. So first up is Vogue's V9000, which is a 1951 pattern design. It's essentially a pull over dress with a side zip. A super flattering dress with princess seam bodice and a panelled flared skirt. It comes with two design options of a lined bodice or capped sleeve but of course you can always mix and match it up. The WOW factor with this pattern has to be the skirt! If you are looking for swishy skirts then this is the one for you. It a six panel skirt, so you need a fair bit of material but its totally worth it! Also they are cut on the Grainline rather than the Bias but you still get a great swish! So this saves on the yardage but you are going to need a nice clear and large space to get cutting out. You know I cant stick to the rules, so I decided to team up the dark denim with a little bit of detail. As this is a vintage 1950's pattern, I thought I'd add a little post war detail in by adding some Tim Holtz Correspondence fabrics. As I only had 2 Fat Quarter pieces left, I used them to add detail onto the facing and underside of the collar; Kinda like a peak a boo of detail, and this collection screams war time love letters from the front line. Another detail I love about this dress is the double darts in the back. So that's four darts in the back piece. This give it a gorgeous shape around the waist line and really accentuates your waist as you sashay away with your flowing skirt. A quick way to transfer those darts is to use a pin and a chalk pen. I love this one called chalk cartridge set or Kreideminen-set and it was a gift from a dear friend that I use all the time! A perfect gift! Anyway pop the in into the notch, peal back the fabric and mark the position of the pin onto both layers. It's a lot quicker than a tailors tack! One thing I didn't like about the pattern is that it didn't tell you how to finish the facing edge. I decided to quickly use my pinking shears and secure with a single hem, giving it a clean finish. This is a great pattern for a beginner, so keeping the beginner sewist in mind, I think they should have covered off this quick step. I know there is a section at the beginning but as a beginner your not going to know when to check that section without being told. It's a simple thing that makes the garment last longer as you have finished the raw edge, and if you learn these little tips from the start then your onto a winner. Another quick tip is to use your pinking shears to trim your collars seam allowances. This saves time as it is clipping and reducing the seam allowance as it goes. Just be careful that you don't cut your threads. For me the collar would be the tricky bit, especially if you are a beginner, which is why I really wanted to cover this in my live demonstration. The trick is the notches! They really are there to help you, so make sure you have transferred all of these to your fabric pieces. The instructions are great on this step, so don't worry if you are worries about doing collars. If you want to sew along with me, you can watch my show back via the link below. The vintage dress was my first hour so scroll to the 1 hour mark for the start of that show. Overall, I loved making this dress. Full of opportunities to add personal details without losing that vintage look, by adding fabric prints into the collar, cuffs, facing and why not add it to the hem as well?
Super flattering and feminine; This is a dress that could easily be made up for a special occasion! Hope you enjoy making this dress as much as I did! Until next time, Happy #sewingrevolution! |
#sewingrevolution newsWhatever I'm doing Categories
All
|
Sewing Revolution |
Tailor Taylor |
|

 RSS Feed