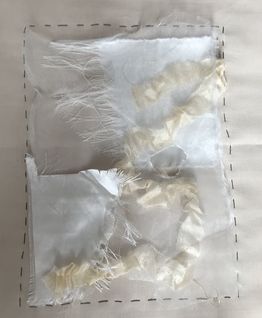
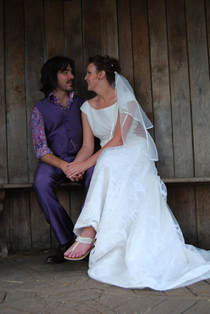
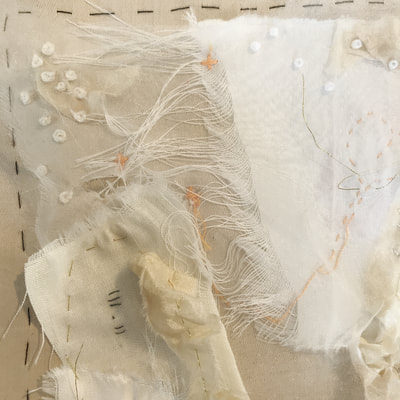
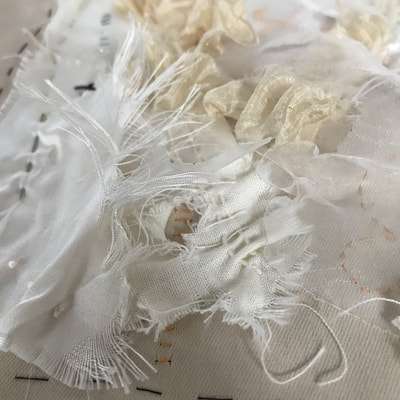
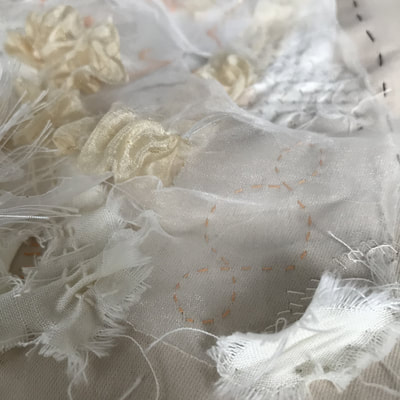
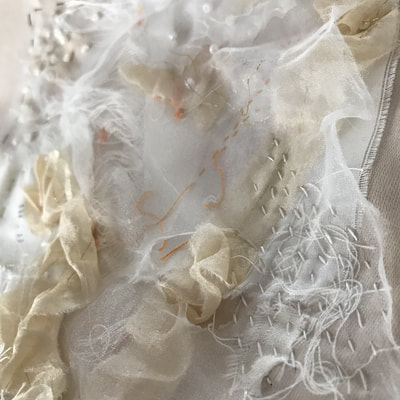
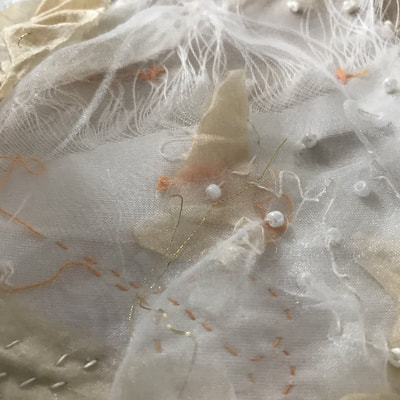
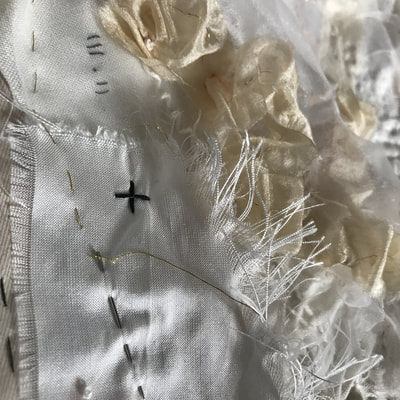
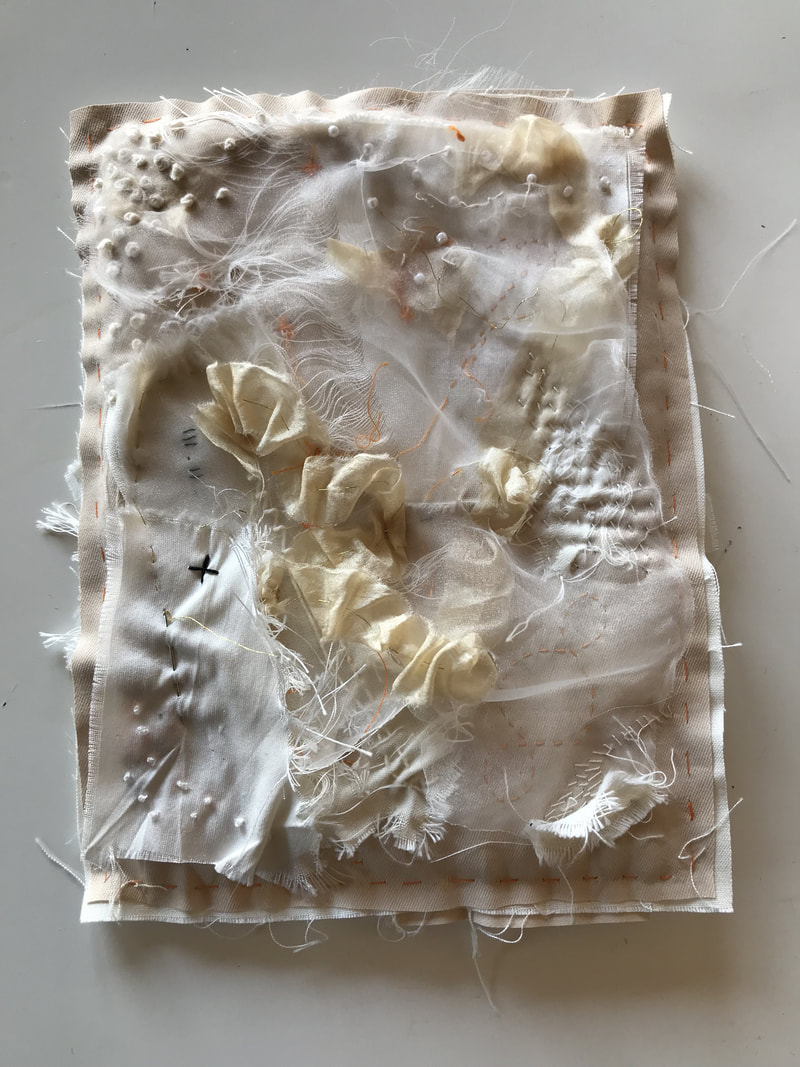
Gathering Memories project in aid of Alzheimer's Society - 'SEWN TOGETHER'The past couple of months have been quiet an emotional sew! The reason for this is that I've had two projects that have been very personal and have evoked wonderful and emotional memories, both that have included refashioning or upcycling of wedding dresses. The first project was for a charity project called 'Gathering Memories', which is a community project which aims to raise funds for the Alzheimer’s Society. I purchases the kit from Elizabeth, who was exhibiting part of the project in the booth next to me at sewing event. This is such a wonderful cause (my great uncle had not long passed away, who had also sadly suffered with this decease) and the challenge to create a A5 piece of art incorporating the kit materials was intriguing. The kit included: 'Silk strand with gold thread' taken from the original Gathered Memories installation, backing cloth, beads, thread and vlieseline bondaweb and iron on interfacing. You can add any other materials you like to the piece, but the only rule was that all or part of the 'silk strand' must be included! 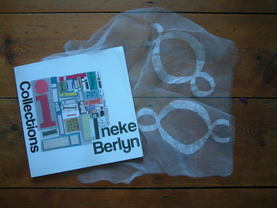 I decided to stitch about my sewing journey. Going right back to where is all started - my wedding dress. And with that in mind, I was stitching about a person in particular , Ineke Berlyn. She is a stunning textile artist and a fabulous lady who happens to be my sister in law's (Gemma Berlyn) , mother in law. She was the lady, who helped set me on my sewing journey, which has now turned into my profession and passion. Sadly, Ineke is no longer with us as she lost her fight with cancer in 2017. I wanted to relive and honour the memories of my time with Ineke through stitch, and to do this I used thread in Ineke's favourite colour, orange. Applied a stitching technique called Sashiko, that Ineke also introduced me to, which as you may know, as I'm totally addicted to, as I use this technique a lot in my Sewing Quarter live shows and upcycle Projects. I also included materials left over from the making of my wedding dress and Veil. This was the first project, I had ever sewn back in 2011 and Ineke was my guiding hands. Within the layers of material, I stitch in symbols and coded messages as well as objects like pins that had come from the sewing kit which was left a vintage singer sewing machine. (it features on the front cover of my book 'Girl With A Sewing Machine') I saved the sewing machine from a house clearance and was in a skip. I did ask before taking it by the way. lol. Through Stitch, Ineke and I made the garment I am most proud of, and she will continue to be a huge influence on my stitching life. Always asking her for advise and guidance, which she always gave so willingly. I miss her terribly , and through this project and other projects that use what she has taught me, I like to think that I'm keeping her work and spirit alive. So if you would like to get involved in the project by viewing the other entries and potentially bidding for a piece of artwork? Silent auctions will be taking place on the below dates. The Willis Museum, Basingstoke, from 30th June – 4th August 2018 and Southampton Art Gallery (Foyer), from 12th August – 30th September 2018 The Silent Auction will take place throughout the duration of these two exhibitions via written bids and/or via the website. Bidding will close on 30th September 2018 and the winning bidders will be notified by the end of October 2018. My piece is called 'SEWN TOGETHER' and is number 155 on the online the gallery. There are so many lovely pieces, it is totally worth having a look, if you have a moment to spare! Do you have projects that you have sewn and they remind you of someone special or have sewn something to specifically remind you of someone? I would love to see them, so please share your pictures with me over on my facebook page Tailor - Taylor or by using the hashtag #sewingrevolution. I would also like to note that Liske, Ineke's daughter is continuing to keep Little heath barn Studio alive by continuing Workshops at Ineke's studio. Liske and Claire regularly run print and dyeing workshops and I have also run Sashiko workshop here to, so check out their website for more information and events details.
Remember..... Creativity is contagious - PASS IT ON!
4 Comments
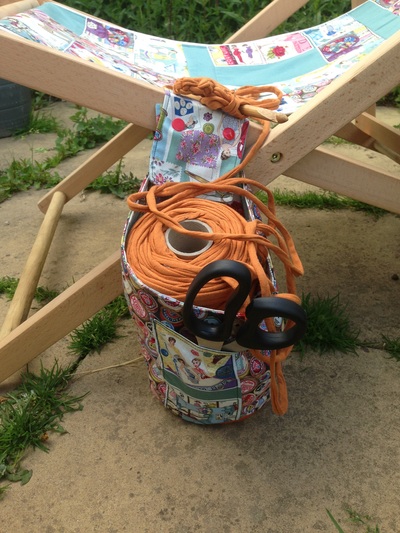
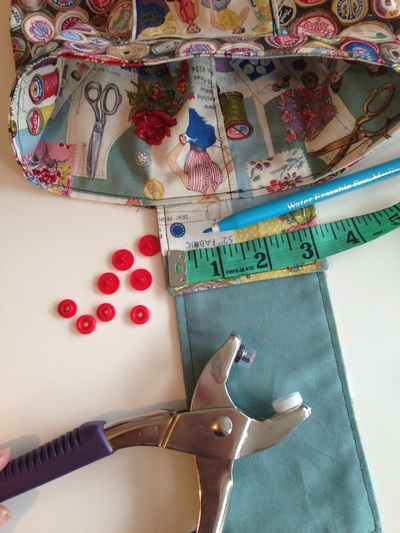
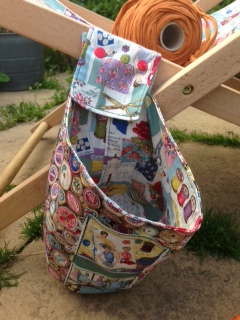
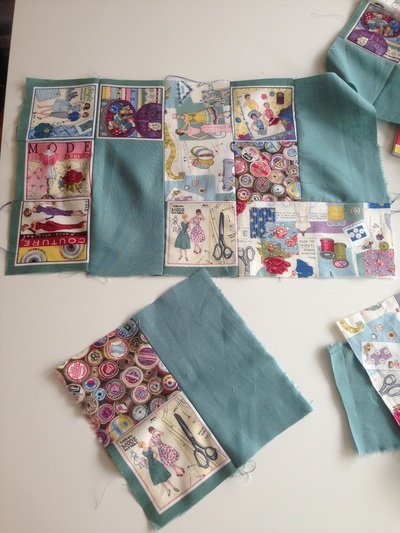
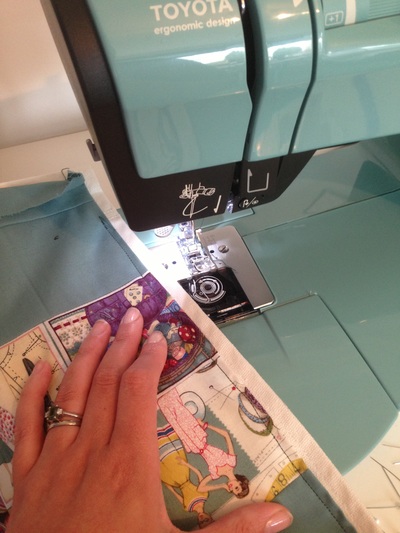
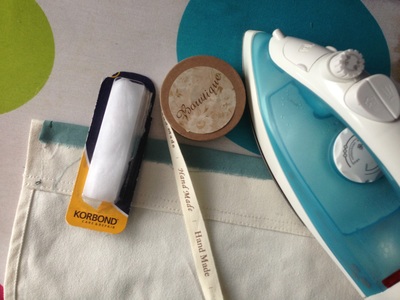
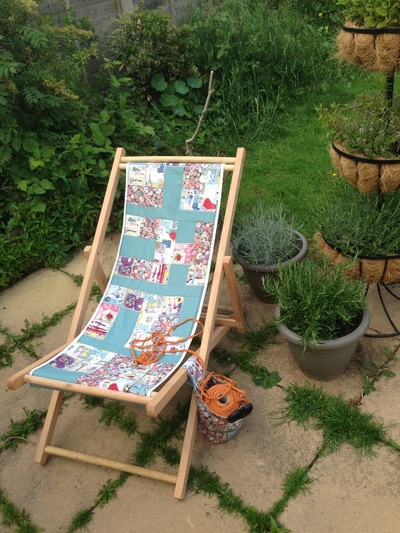
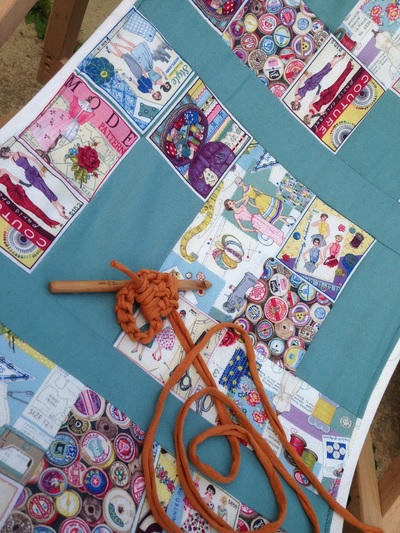
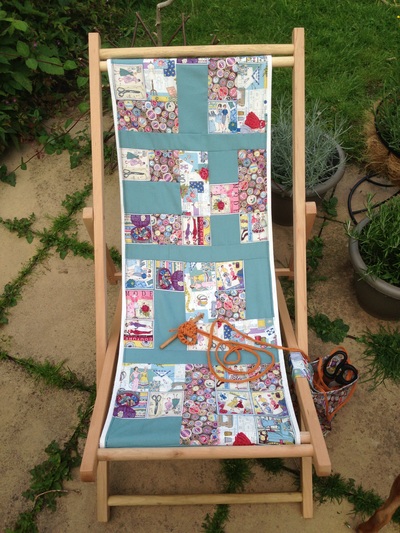
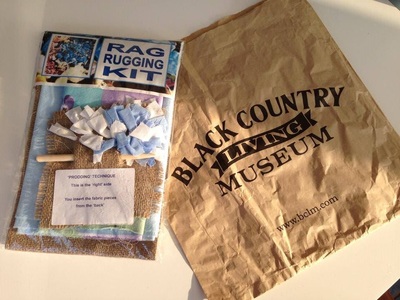
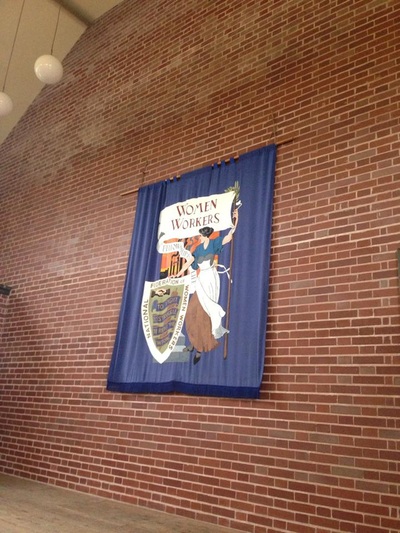
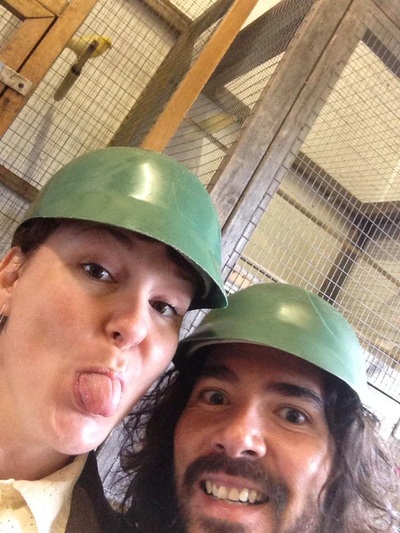
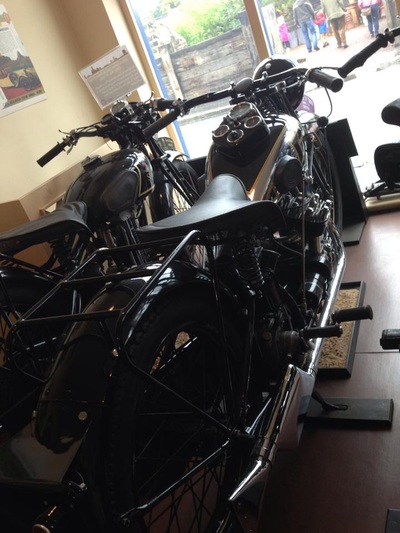
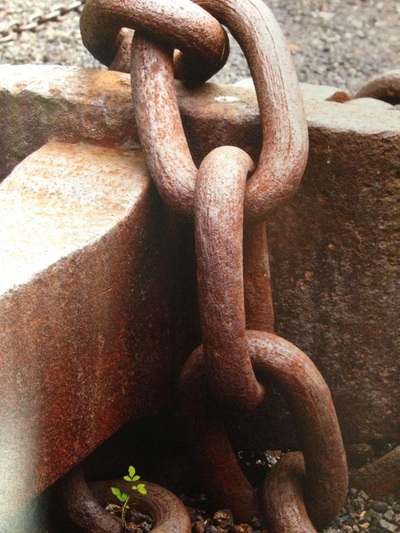
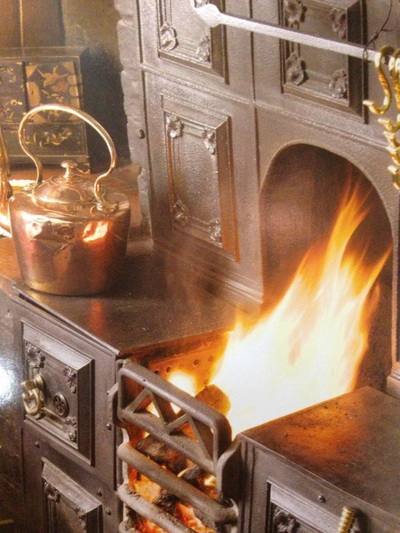
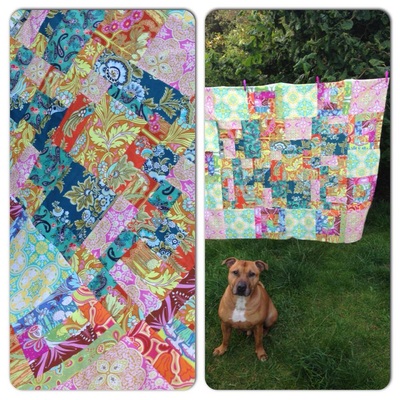
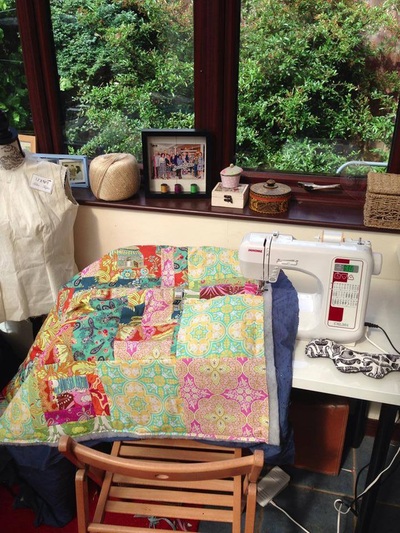
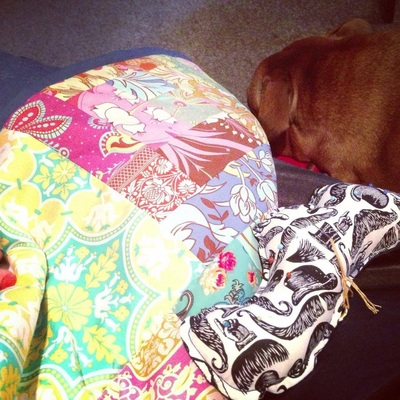
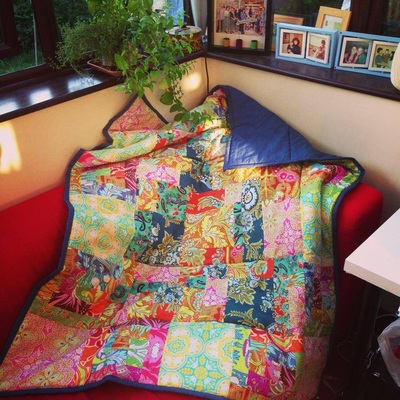
#Sewingrevolution upcycling Summer Challenge.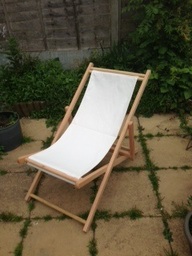 Deck chair waiting for it's #sewingrevolution make over. Deck chair waiting for it's #sewingrevolution make over. Never one to shy away from a sewing challenge, I was approached with an unusual propsal. Oceanfinance.co.uk have tracked down twenty creative bloggers and challenged them all to upcycle a plain deckchair. Armed with a Hobbycraft voucher and deckchair, I accepted this exclusive challenge and headed to Wolverhampton Hobbycraft for some inspiration. I knew that I wanted to theme my project around my love of sewing and craft. I wanted it to be a practical as well as a really funky chair and with the weather starting to brighten up, I wanted to be able to craft outside while grabbing a tan of course! With these aims in mind and the help of the lovely staff, we got to work. I think I spent about 2 hours in there looking at everything craft related. In the end I decided to go with four 1/4 meters of some awesome sewing related fabric which I was going to patch work for my seat. The fabric had a great retro feel to it with old sewing labels, patterns and images. There was also a cracking cotton reel fabric which I coupled with a lovely plain minty teal fabric. 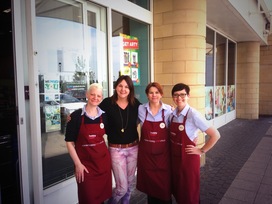 The lovely staff at Hobbycraft! The lovely staff at Hobbycraft! While on my expedition I came across these large bundles of yarn, which was actually strands of t-shift fabric rather than wool. This was perfect! An opportunity to learn a new craft while sitting on my 'to be upcycled' deck chair. So I decided to apportion a little of my strict budget on two yarns of Boodles in orange and yellow along with a 10mm Bamboodle crochet hook. I'm already thinking of the clothes I can cut up to make yarn for future upcycling projects, but I better learn how to crochet first. One challenge at a time Jenni! After a quick picture with the lovely staff, Rachael, Jac, Melanie and Andy ( who was taking the picture) and feeling dead proud that I had stayed within budget, I was ready to get started. 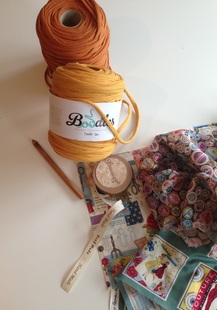 Back at #sewingrevolution HQ, I decided that I wanted to make a little bucket pouch that could be connected to the side of the chair. This would be the practical element that I wanted to include. Something to keep my scissors, wool, threads, material, bottle of wine and snacks that sort of thing while I craft away in the sun. With my next challenge waiting, I wanted to make sure my pouch would be big enough to hold one of the Boodles yarn, which is about 14 inches in circumference. So before started to cut up my fabric to make strips for the patch work. I cut out two large rectangles of the vintage sewing and reel fabric along with some of the vintage sewing label fabric for a front pocket. For my bucket pouch I need enough fabric to wrap around my yarn to create a tube, a circular base and strap - twice; as I wanted to also line my pouch. This was about 25 by 10 inches for the lining and again for the main fabric. You can obviously make yours as small or as large as you like. It's a really simple construction as it is the same pouch, made twice and then inserted inside each other, wrong sides together. Then finished with a top stitch on the edge. So I could attach my bucket pouch to my deck chair, I've added a strap and Prym Snap fasteners to secure it around the leg of the chair. I added the strap before sewing the two pouches together. I also wanted a little detail on the front so I added a pocket. A little something to keep your scissors or knitting needles out the way. With my bucket pouch complete, I then took the remaining material and cut into long strips. Making sure that the width of the strips were all the same size so it makes it a lot easier to patch with. I wanted to go for a shabby chic look so I decided to use a combination of squares and rectangles to create my new deckchair seat. As I only had four difference styles of fabric, I tried to make sure that the same style was not stitched together, but I wasn't to bothered if it did; it all adds to the shabby chic look. Using the original seat cover to measure how big I needed my patch to be, I continued to piece together until it was big enough to cover it. Rather than completely replace the seat, I used the old white seat cover as a backing to my patch. Not only did this add strength to my seat but also covered up all my seams on the back of the patch work. After giving the patch work a good press and creating a small single hem on all the sides, the patch was ready to be pinned to the original seat cover. I secured it with a visible top stitch and used a white thread for the bobbin, so you couldn't see the stitches on the other side. I had to finish the top and bottom ends with a little hemming tape and hand sewing as I didn't want to sew the channels shut as that is where the wooden poles go into to secure the seat in place. I wanted to make a feature of this, so I added a printed cotton ribbon which said 'handmade'. Too Cute! 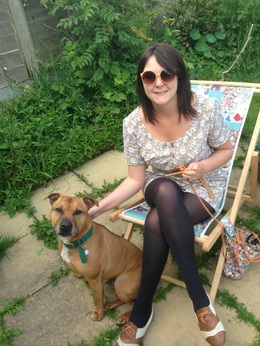 Waiting for the sun! Waiting for the sun! With my new seat cover and bucket pouch in place; my #sewingrevolution deck chair upcycle challenge is complete and I'm ready to start my next new challenge! Crochet! Just waiting for the sun to make an appearance first. Thank you to Oceanfinance.co.uk for this awesome upcycling challenge. I hope you like it everyone! Why not have a go yourself and use your left over fabric scraps to freshen up those old deckchairs in the shed! Even make a bucket pouch too! If you need help - check out #sewingrevolution Events for a sewing clinic workshop near you! Remember 'Creativity is Contagious - Pass it on!' so don't forget to share pictures of your makes on my facebook or twitter pages using the #sewingrevolution hashtag! I've had an educational sewing journey this month. Learning new skills by attending a weekend pattern drafting workshop, visiting a living museum and being inspired by the Issue 63 of Sew Magazine. Not that I'm an 'old dog' but you really never stop learning, experimenting and perfecting your sewing skills. Pattern Drafting with Jules from Sew Me Something- Stratford.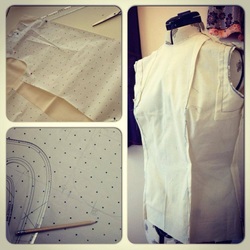 Pattern Drafting is something that I have always wanted to learn. I love nothing more than to create my own clothes without using a pattern but I wanted to know how you take a persons individual measurements and transpose these onto paper to the create a block or sloper first. A block is a basic fitted pattern that can then be transformed into different patterns with different styles. Within the class we all finally got to get measured properly from head to toe, literally. It was great as you really need two people (yourself and someone to measure you) to get the correct measurements at the right points. To have these measurements not only create my block but they are also really helpful for when trying to pick/ buy the right size pattern. Then we got into the science of it. Drawing out my shoulders, bust, waist and hips on paper in a series of lines and curves was just amazing. Seeing my form as a flat drawing ready to be copied and transferred to Calico fabric to make my toile that fitted perfectly, was something that I always wanted to do. I've always wanted to really get into the mechanics and science of dress making, but don't let this put you off going to a pattern drafting course. It is not as high tech as you think once you get into the swing of it. With my toile perfected I was ready to start altering and designing the style of my garment. I cant wait to show the final garment so watch this space. If you are interested in doing a pattern drafting course, I would recommend Sew Me Something as Jules is an amazing teacher and also bakes wonderful cakes! A Step Back Into The Past - Black Country Living Museum.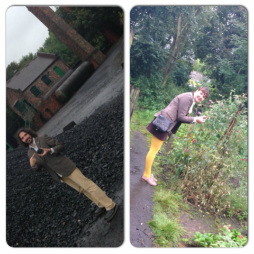 On a rare day off, Kirk and I decided that we wanted to spend the day together, so we went to a local attraction called the Black Country Museum. It was a very wet day but this didn't dampen the day at all. We had a trip down the mine, ate traditional fish and chips cooked in beef dripping and wrapped in brown paper. Visited the local pub for a pint and a warm by the open coal fire. This is not like a normal museum, they have people 'living' in the street and working in the shops, so it's as if you have just travelled back in time and popped round for a cup of tea. The people that lived or worked in the buildings were so lovely and very knowledgeable about the period and they were occupying. Explained the history of the house, their routine if they actually lived there, the equipment they would use and would also do demo's to show us how the blacksmiths would make chain links, cut glass. It was lovely to see that most of the houses had a sewing machine in them. This was obviously not uncommon for people to have a sewing machine have pride of place in the house or at least a sewing kit and it was great to see the people showing little children what it was and how to use it. It was when we visited a lady who was sat next a roaring fire in the living room making a rag rug when I really became inspired. I asked if she could show me how to do it and what they would of used back then. She told me that they would of been made out of old potato sacks and use old clothes to make the rugs. The perfect upcycle project, I was so pleased that they had the rag kit in the gift shop! Of course I had to buy it and make one for myself. It takes some time so not quite finished it yet but I cannot wait to share it with you when it's finished. I might even do a workshop on how to do it! Going Bold and Bright with Log Cabin Blocks.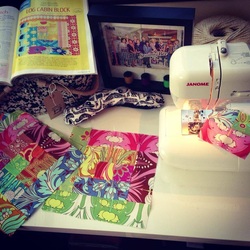 After getting the quilting bug last month after making a baby show gift for my friend, the 63rd issue of Sew Magazine couldn't have come at a better time. On page 71 they demonstrated how to make the 'block of the week' which was a log cabin block. This was perfect timing for the project I was already half way through. I had created a fairly big crazy patch piece but wanted to add to it but doing something different. Being a complete novice at this, the log cabin block was perfect to frame this piece and the instruction were easy to follow. Using a Jelly roll I had been given and wanted to use as the fabric designs just matched perfectly, I began to make my blocks. I was amazed at how quickly the shape came together and I quickly used up all of my jelly roll. As it was quite a busy quilt I thought I would couple my finished log cabin blocks with single squares of fabric for the boarder. When joining all the pieces together I was really pleased with the outcome. I appreciate it's probably not to everyone's taste as I think it has every colour possible in there, but It's my quilt and I'll sewing it how I like it! lol. That being said when I posted the finished pictures on my social media sites your feedback was so encouraging and just lovely. So BIG thanks everyone! Can't wait to for the weather to get colder so I can snuggle up with a good cup of tea and a great movie. Not that I want to wish the summer away as I'm very much a sun worshiper! I'd love to see what you have been up to this August! Are you sewing a quilt ready for the winter? Remember I do keep an eye out for your #sewingrevolutions so please keep posting!
|
#sewingrevolution newsWhatever I'm doing Categories
All
|
Sewing Revolution |
Tailor Taylor |
|

 RSS Feed